Materials
Besides the basic navigation and information on how to create objects which mainly can be used
for architecture and similar themes, the topic of applying appropriate materials is especially
important for me in Blender.
Therefore, this section is specifically dedicated to information on working with materials.
While there are possibilites to apply general material features to objects, the Shading Editor
can be used for advanced material adding processes.
Material Properties
Material Properties View
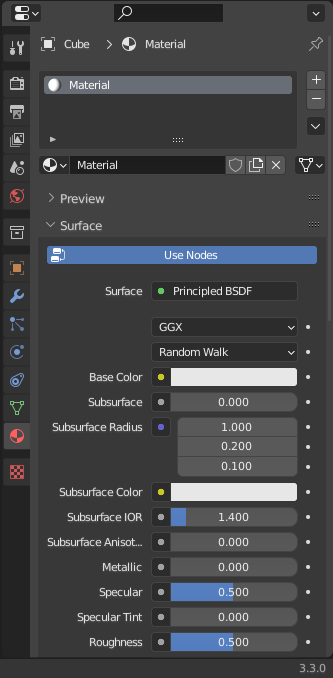
One way to work with materials is to navigate to the material properties of an object. This can be very useful for getting a quick idea of which base colors and other fundamental properties would work on that specific object. However, the material properties only provide the most basic options. In order to create more distinguished results, the Shading Editor should be opened up.
Principled BSDF
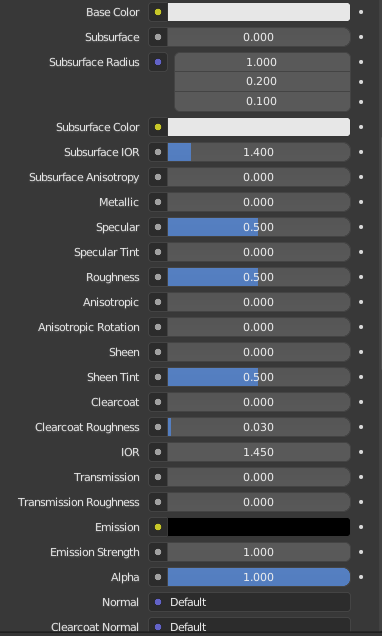
The Material Properties view basically consists of the Principled BSDF node, which can also be used in the shading editor. However, there are not any additional nodes attached to it here.
Shading
Shading Workspace Selection

The shading workspace can be found in the workspace selection at the top of the screen.
Shading Workspace
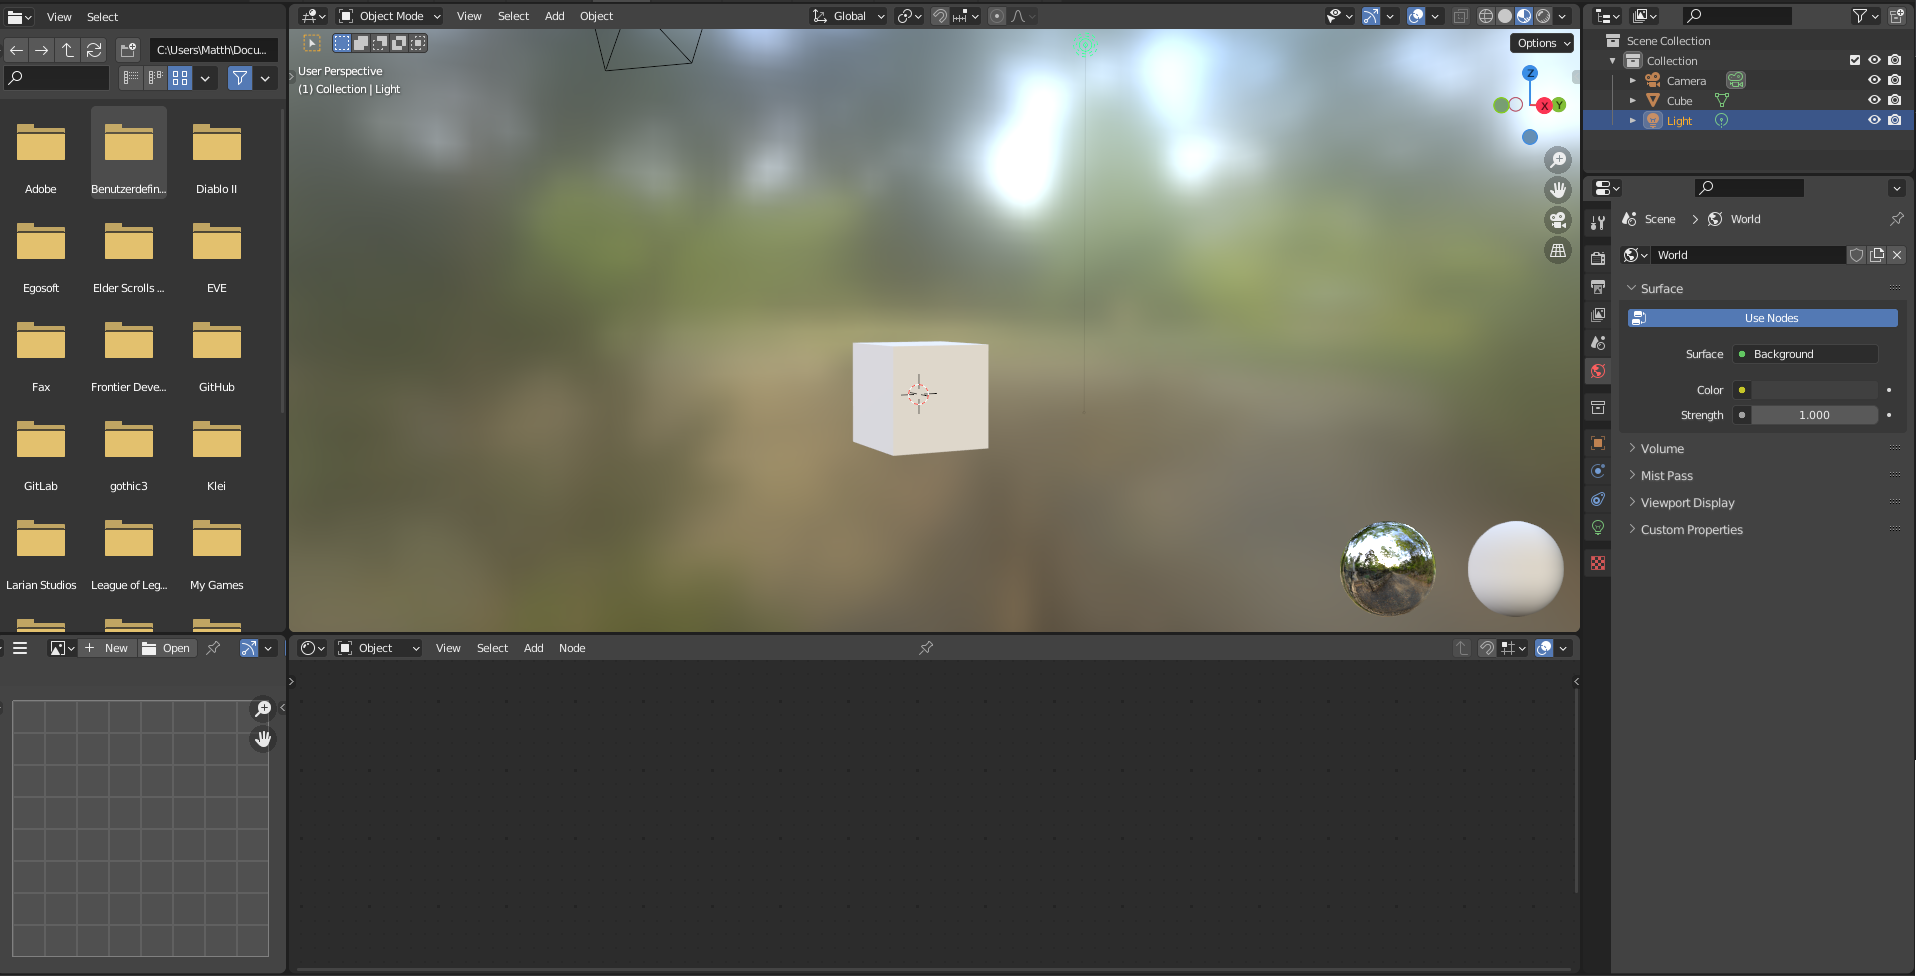
The shading workspace is designed for creating and building materials. The Shading mode consists of a file browser, an image preview, the 3D workspace, a node editor, and the normal selection space.
Background HDR Image
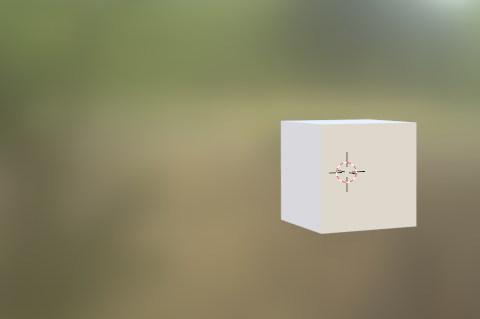
The background, which is called a HDR image, is supposed to give the background lighting and give the object something to reflect if they have smooth values.
Background HDR Image Change
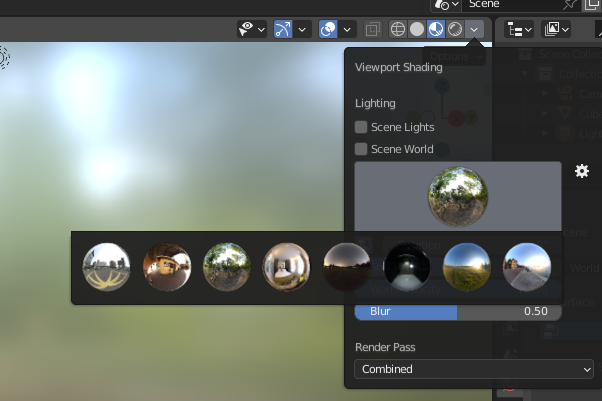
The background HDR image can also be changed to represent different lighting scenarios.
Node Editor
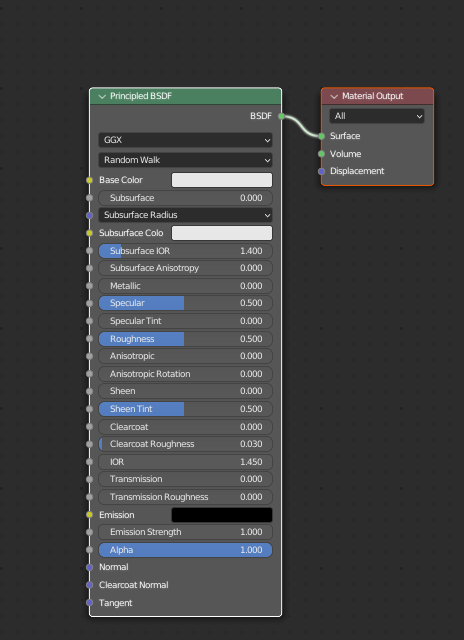
The exciting part is about the node editor, which gives access to applying a bunch of different nodes to the object's material to alter it. The starting Principled BSDF node (which is a shader node) has the same properties as the normal materials properties. Shift + A is the shortcut for adding new nodes.
Material Output Node
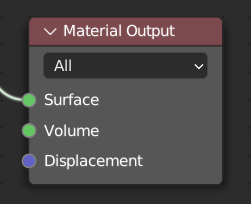
The material output node is normally necessary for applying the material.
Diffuse BSDF And Principled BSDF
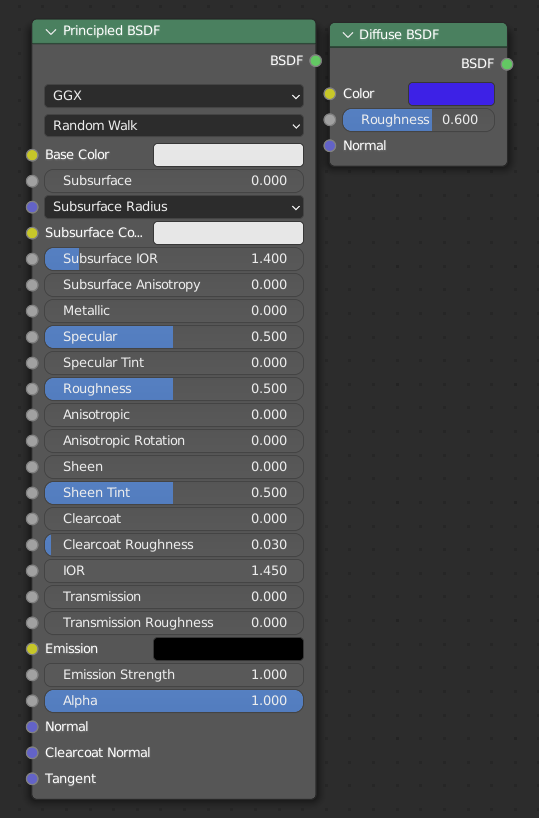
The Diffuse BSDF is a legacy node that got replaced by the Principled BSDF node.
Help With Connecting Nodes
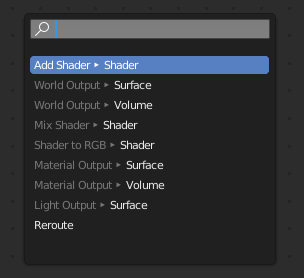
By selecting the in- and outputs of a node, Blender will give examples of where to connect the corresponding in- and outputs to.
Node Types
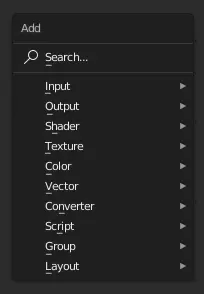
There are different type of nodes to work with such as color, vector or shader nodes.
Texture Inputs

Normal pictures can be used as texture inputs for different nodes to work with. This is as easy as dragging a image into the Shading Editor in order to convert this image to an image node within the Shader Editor.
Roughness Map Input
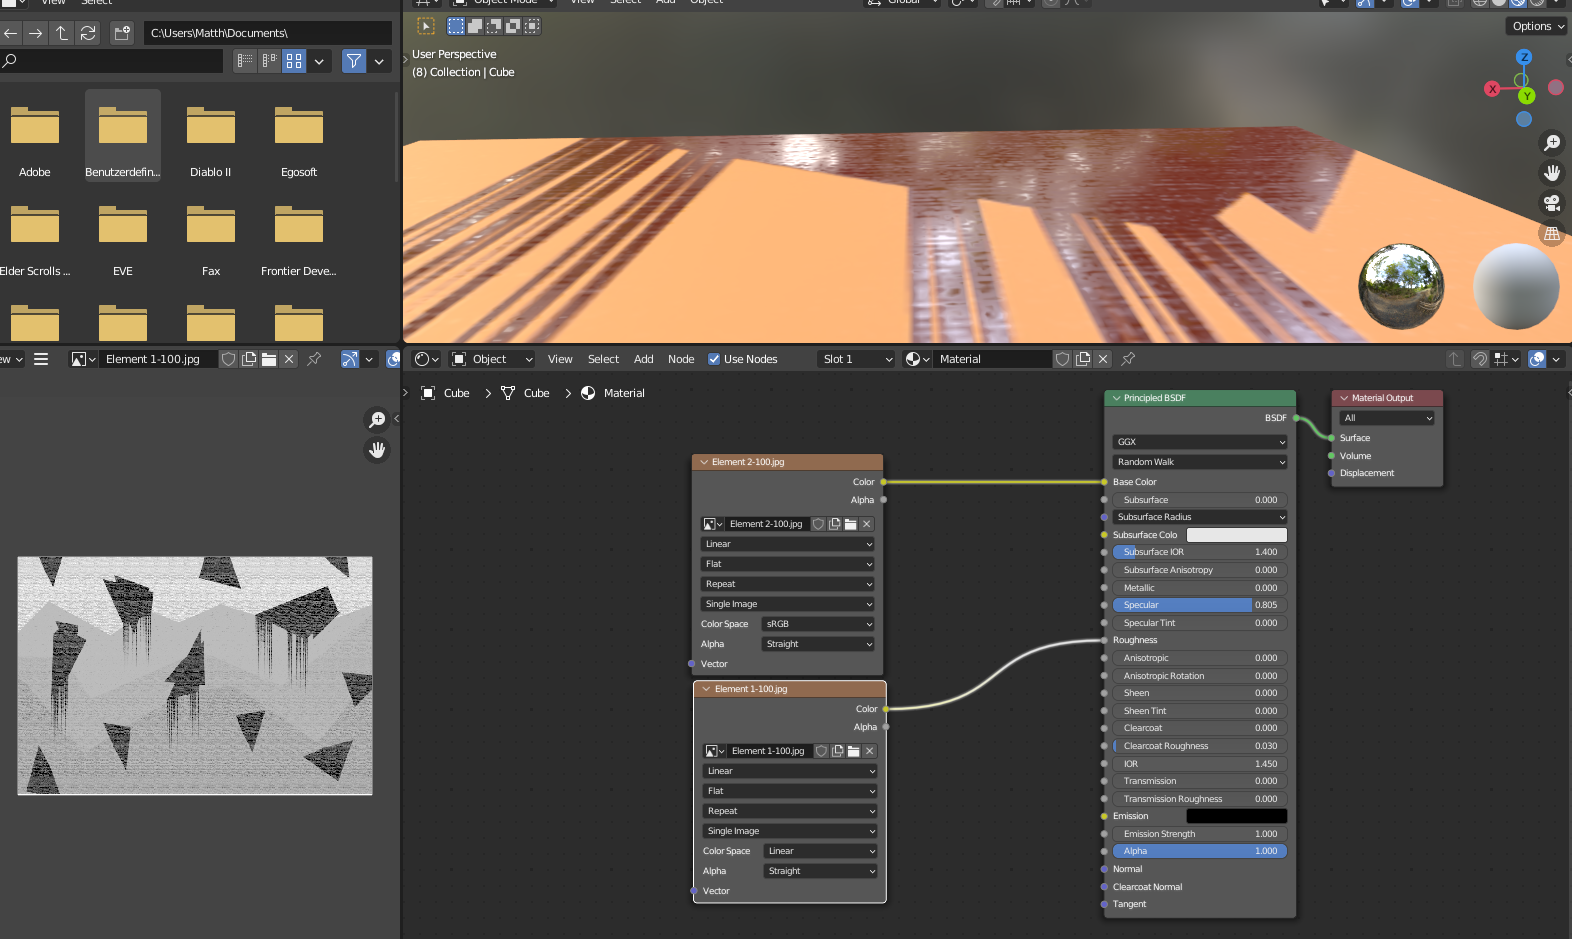
A roughness map image can be connected to the roughness of an object to give specific instructions. It is important that the image is in black an white. The more white, the rougher the texture will be a the specific point, the more black, it will be less rough.
Normal Map Input

There are also so-called Normal Maps that are responsible for representing the lighting on a texture. Normal maps have blue/purple colors and can be created via Baking directly in Blender (check out the additional information below).
For automatic generating a normal map based on a given texture, other software can be used, such as Gimp, for example. In order to append Normal Maps one has to use the Image Texture and Normal Map nodes.
Additional Information
How to create a Normal Map in Blender
This video shows how to create a Normal Map within Blender without any external software.
How to create a Bump & Normal Map
This video shows how to create Bump Maps as well as Normal Maps with Gimp based on an image
texture.
How to texture Bake Procedural Materials
This video shows how to texture Bake Procedural Materials, which becomes especially important as soon as one wants to export an object with corresponding materials to a different software such as Three.js.
Free 3D Textures
This website provides access to freely usable 3D textures for Blender.
Basics of Material Shading (Part 1)
This video covers a lot of information about all kinds of nodes within the Shading Editor. It also contains helpful shortcuts as well as a Part 2 that covers PBR textures. If one is getting started with the Shading editor, this is the video to watch.